Download and Install:
Visit the homepage to download the appropriate APK for installation.
Adding a Subscription
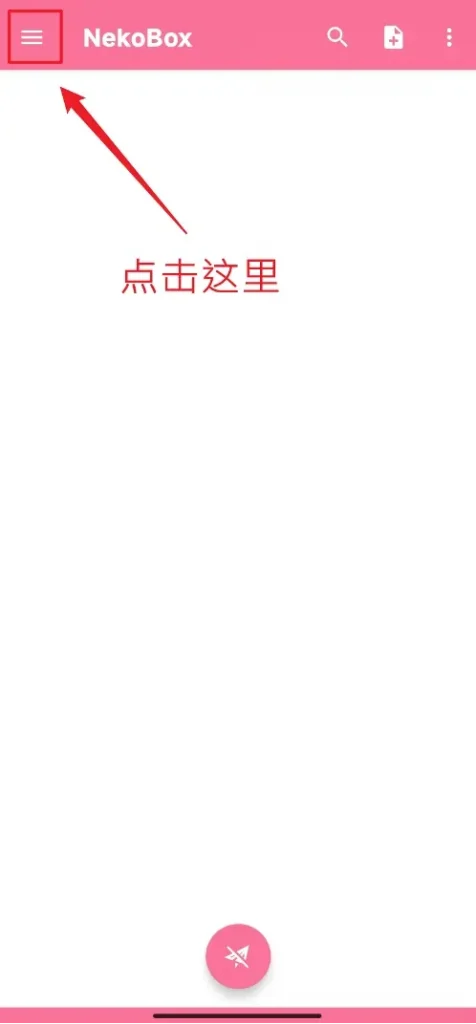
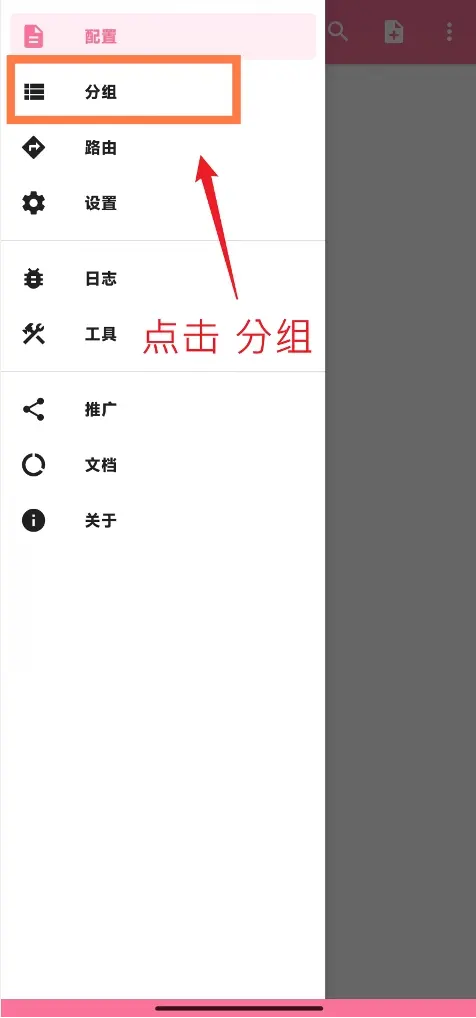
After launching, open the menu in the top-left corner and select a group.
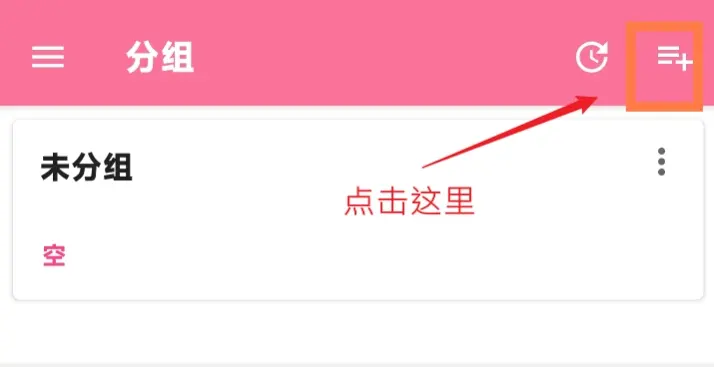
Click the top-right corner to add a new group.
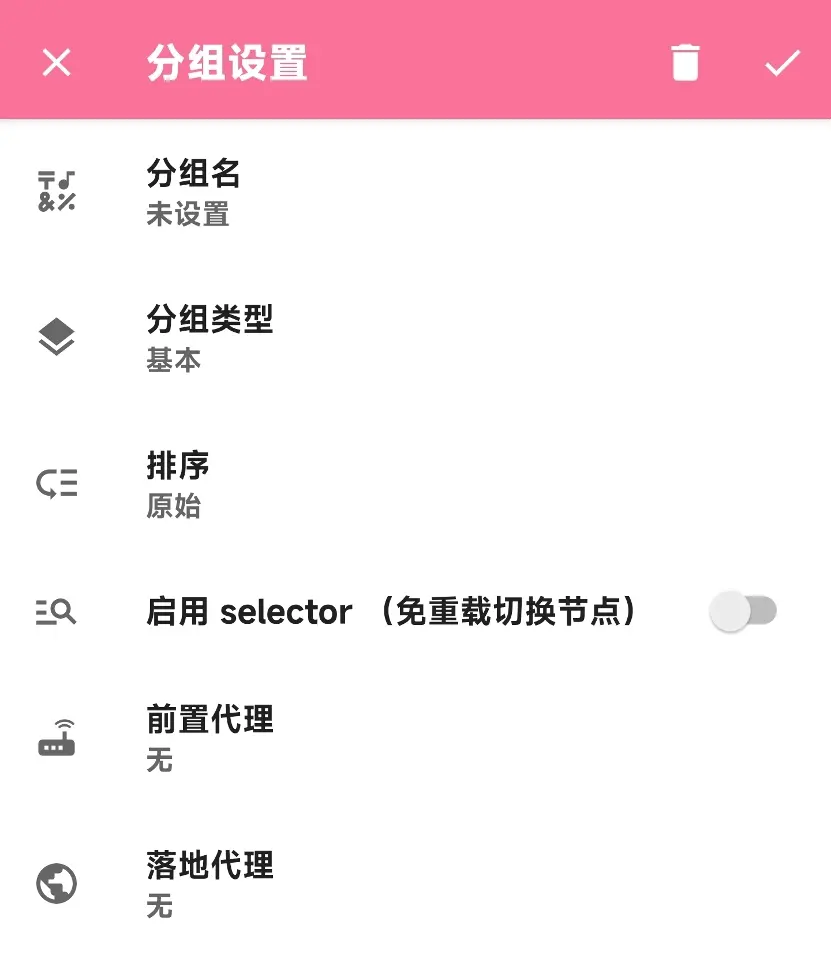
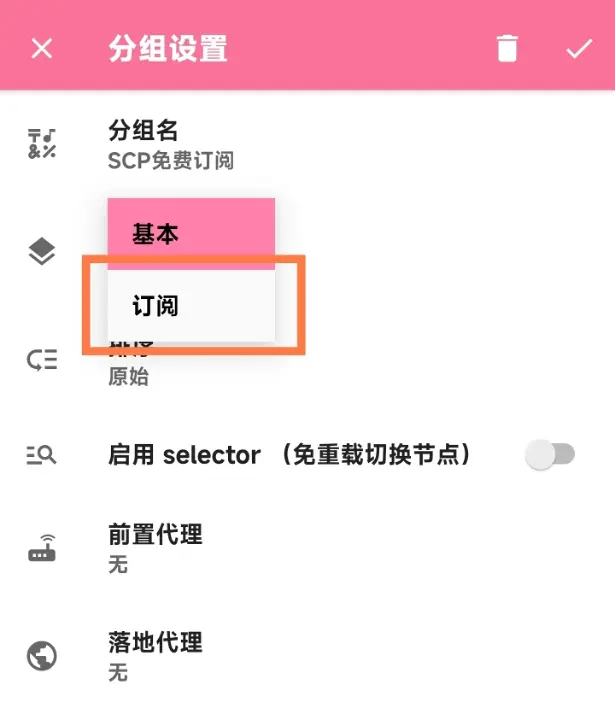
Fill in the required information: group name, group type (subscription, for instance).
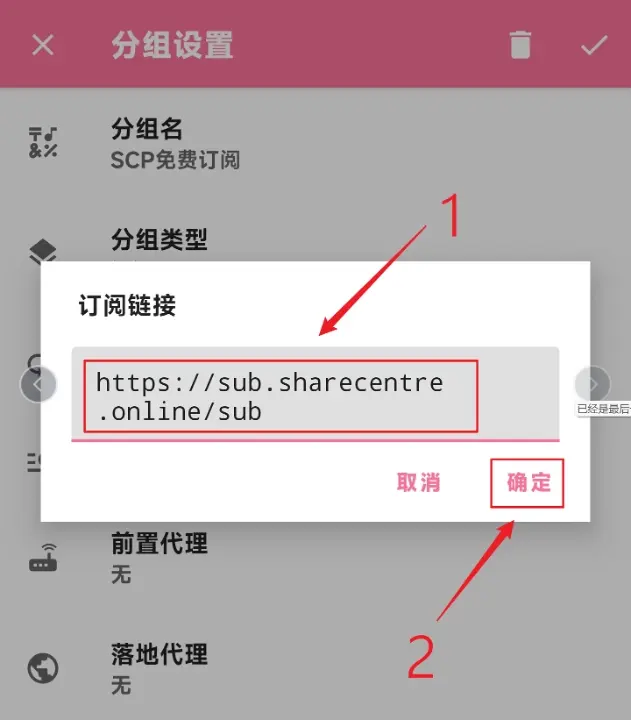
Enter the subscription link obtained from your proxy service provider.
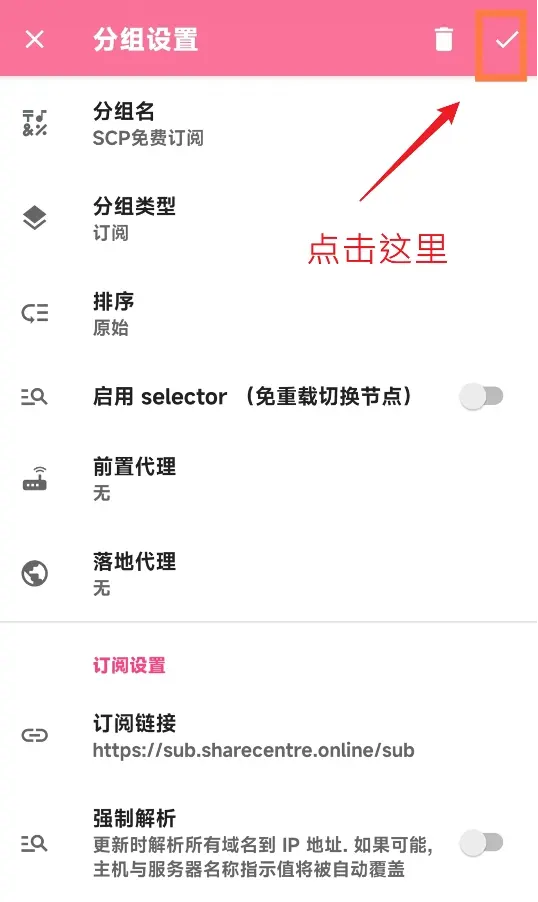
Confirm the setup by clicking the top-right corner.
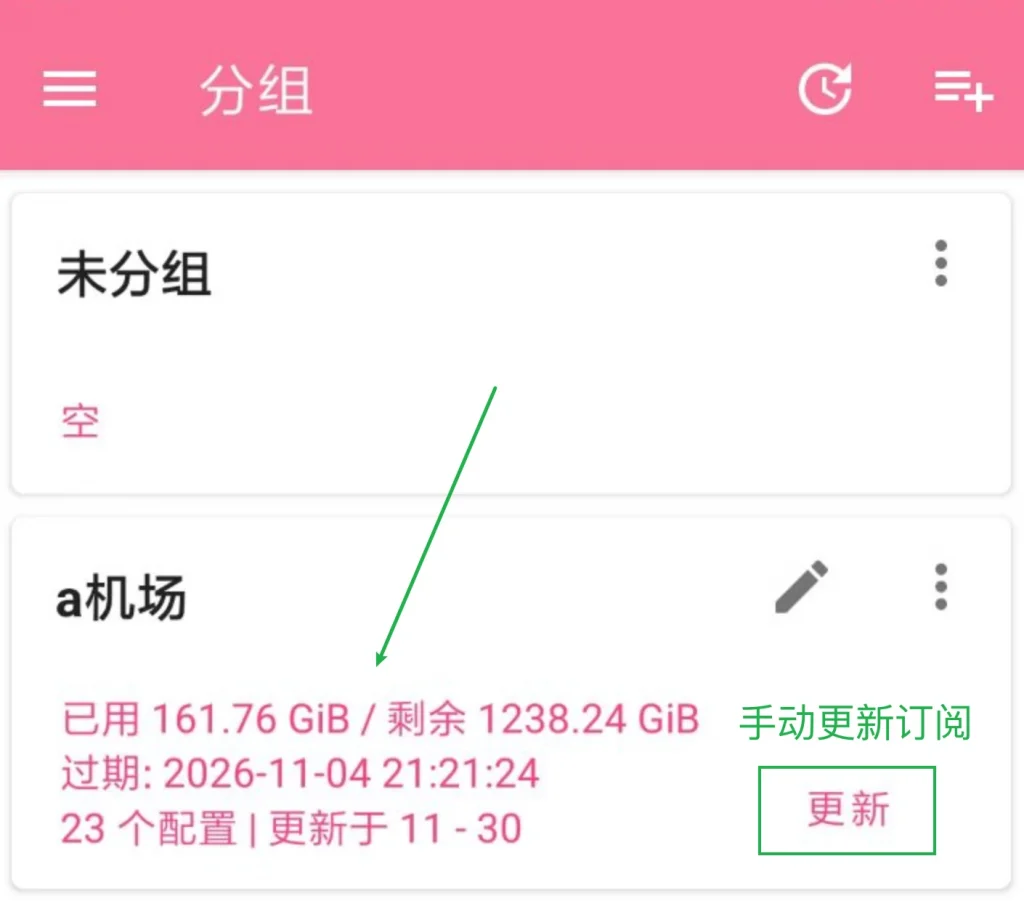
Newly added nodes will appear on the homepage. You can update the subscription by clicking the update button.
Using the Proxy
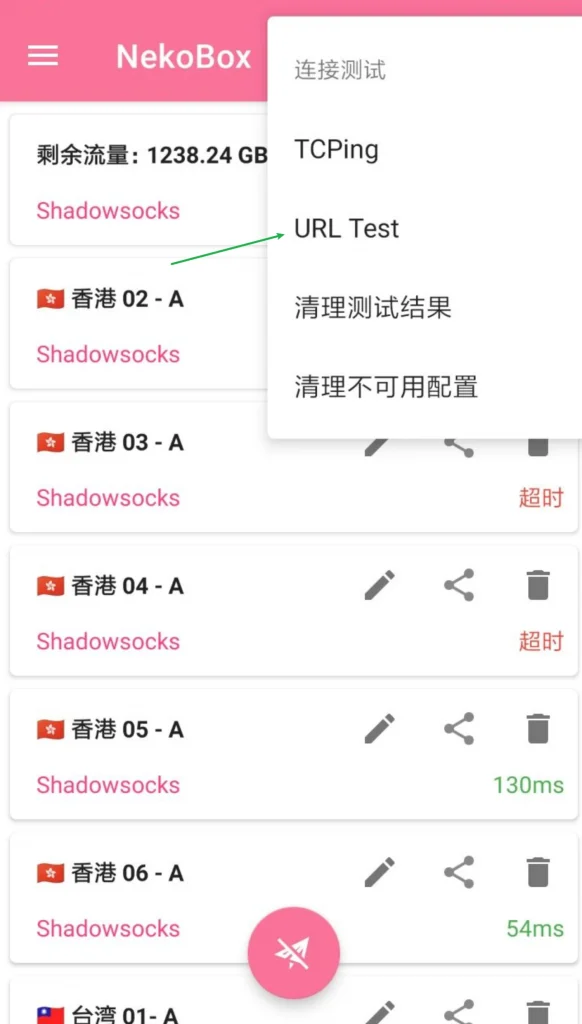
Open the menu in the top-right corner and select “Connection Test,” then “URL Test” for node testing.
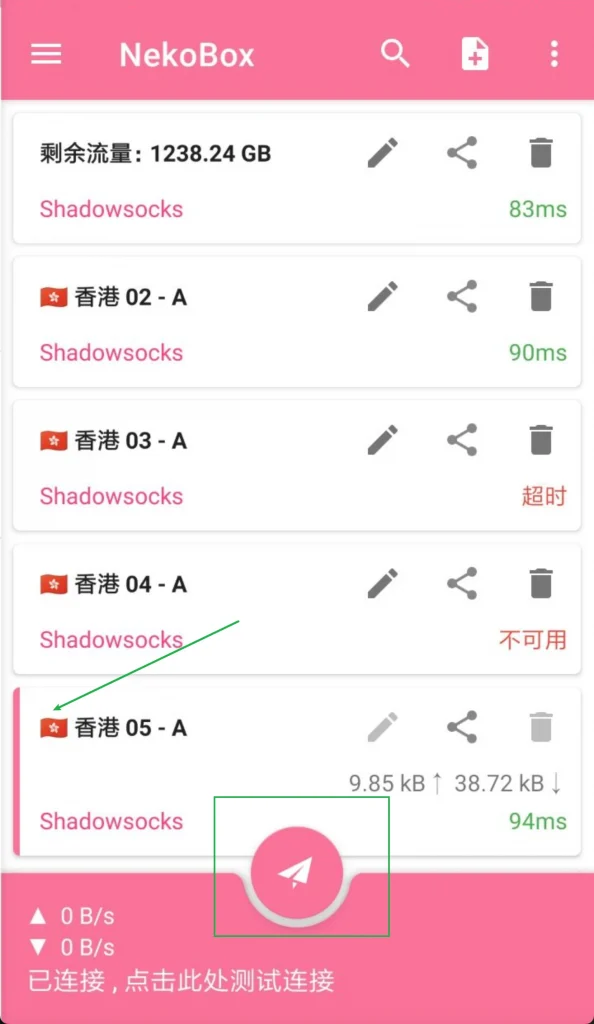
After testing, choose a suitable node and activate it by clicking the airplane button at the bottom.
Setting Proxy Mode
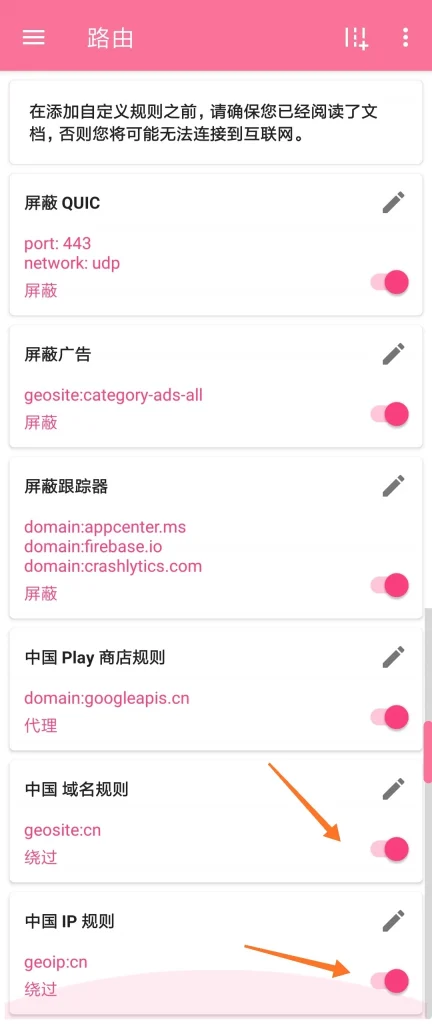
By default, the proxy is set to global. However, it’s recommended to set domestic websites to direct connection.
Activate Chinese domain rules and Chinese IP rules for optimal performance.
Rule Descriptions:
- Block QUIC: QUIC is designed to improve network efficiency. However, some regions may restrict or drop UDP traffic, so enabling this option can enhance stability.
- Block Ads: As implied, this option blocks ad displays.
- Block Trackers: Prevents data collection services used by websites and apps, enhancing privacy to some extent.
- China Play Store Rule: Optimizes Google Play connectivity, potentially speeding up access to Google services in certain situations.